Action

Action is the next step for the data inputs from the triggers. At Appy Pie Automate, all the new and updated information received by Triggers gets to the final app through Actions. Once the trigger releases the information of new or updated information it is the Action that helps to complete the Connect.
The information transfer happens with the help of input form fields settings made by users for the different apps. The order of Actions for your app will be visible to the user in the same way as they were originally added by you.
Main work for an Action is to make the changes in the app as per the trigger and insert or update the data as per the integration settings made by the user. With this, Action also creates a log of amendments made which are stored in output fields. This information can be functional to create the workflow or to make changes in further integrated apps.
Actions can only insert or update the information they do not have the authority to delete or remove any data from the app. Thus, data loss can be avoided in using Actions at Appy Pie Automate.
Adding Action in Appy Pie Automate Integration
1. Settings

In Appy Pie Automate integration on the left-hand panel, there is an option of Action. Click and “Add Action” will be available to add the new action. Now, to add the action, the first step is to add the details about the action such as Name, Description, etc.
- a. Name (Required): User-friendly name that can help the general user to recognise the functionality of your Action. An example can be Add which can help the user to use the Action to add the new information fetched for the trigger app.
- b. Description (Required): Here, you have to enter the description explaining the functionality of the Action. Try to keep it simple and elaborative for the user to understand the importance. This can help the user to understand the necessity of using it. In Connect, you can update the description at the later stage as well if in case you forget to add any vital information.
- c. Visibility Option: There is a checkbox which can be used if the Action is set to initiate data reception for another action. Thus, it will hide for the common app users and will work as an internal Action to fetch and reflect the information in the main action of your app.
Once done with filling all the information and setting the trigger to hidden or visible mode, Save
the information. Now, you are all set to move to the next part of configuring your API or setting up
Input Designer Form.
2. Input Designer (Optional)

Input designer is vital for an action to perform its operations. You need to build an input form for each of your actions, without at least one input field the action will not work at Appy Pie Automate. To put the information at the precise location some information details are required by the Connect. It is important to ask for the same from the users using input field forms to complete the Action with API configuration.
For example: To enter the details for every new email in the google sheet, the user must have the access of Gmail account and Google sheet along with labels to store sender’s email ID, subject and time map along with the subject, etc. This information is important for Connect to work properly and to provide the user with an automated workflow. There can be mandatory and optional fields in your input form for the user depending upon the Action and what all values should it have before the implementation of Action.
Remember, the order of items required must be the same as that of your app to make it easy for the app as well for the user to identify them.
3. API Configuration

After setting up the input form the next step to configure the API, this will help to send the information to the app.
Appy Pie Automate will use POST methodology to send each information along with a new action for your API endpoint. Within the single response, each field defined in Input form should parse the information to execute further steps at Appy Pie Automate.
You can select a different API call type for the special requirement or can leave it to the default setting of GET if it works for a normal case scenario. To add any key from the input field replace the Key value with:
{{bundle.inputData.key}}
You can add and configure URL Params by clicking Show Options to change HTTP, Header or customize the same as per the app requirement. You can add or delete the URL Params as per your requirement.
Test your API call with authenticated account credentials, furnish all the details required in the input field to validate the working of the API call in your app. You can choose to configure API endpoint again if any issues are found, and can retest the same with the new or same authenticated account.

Configure Your API Request
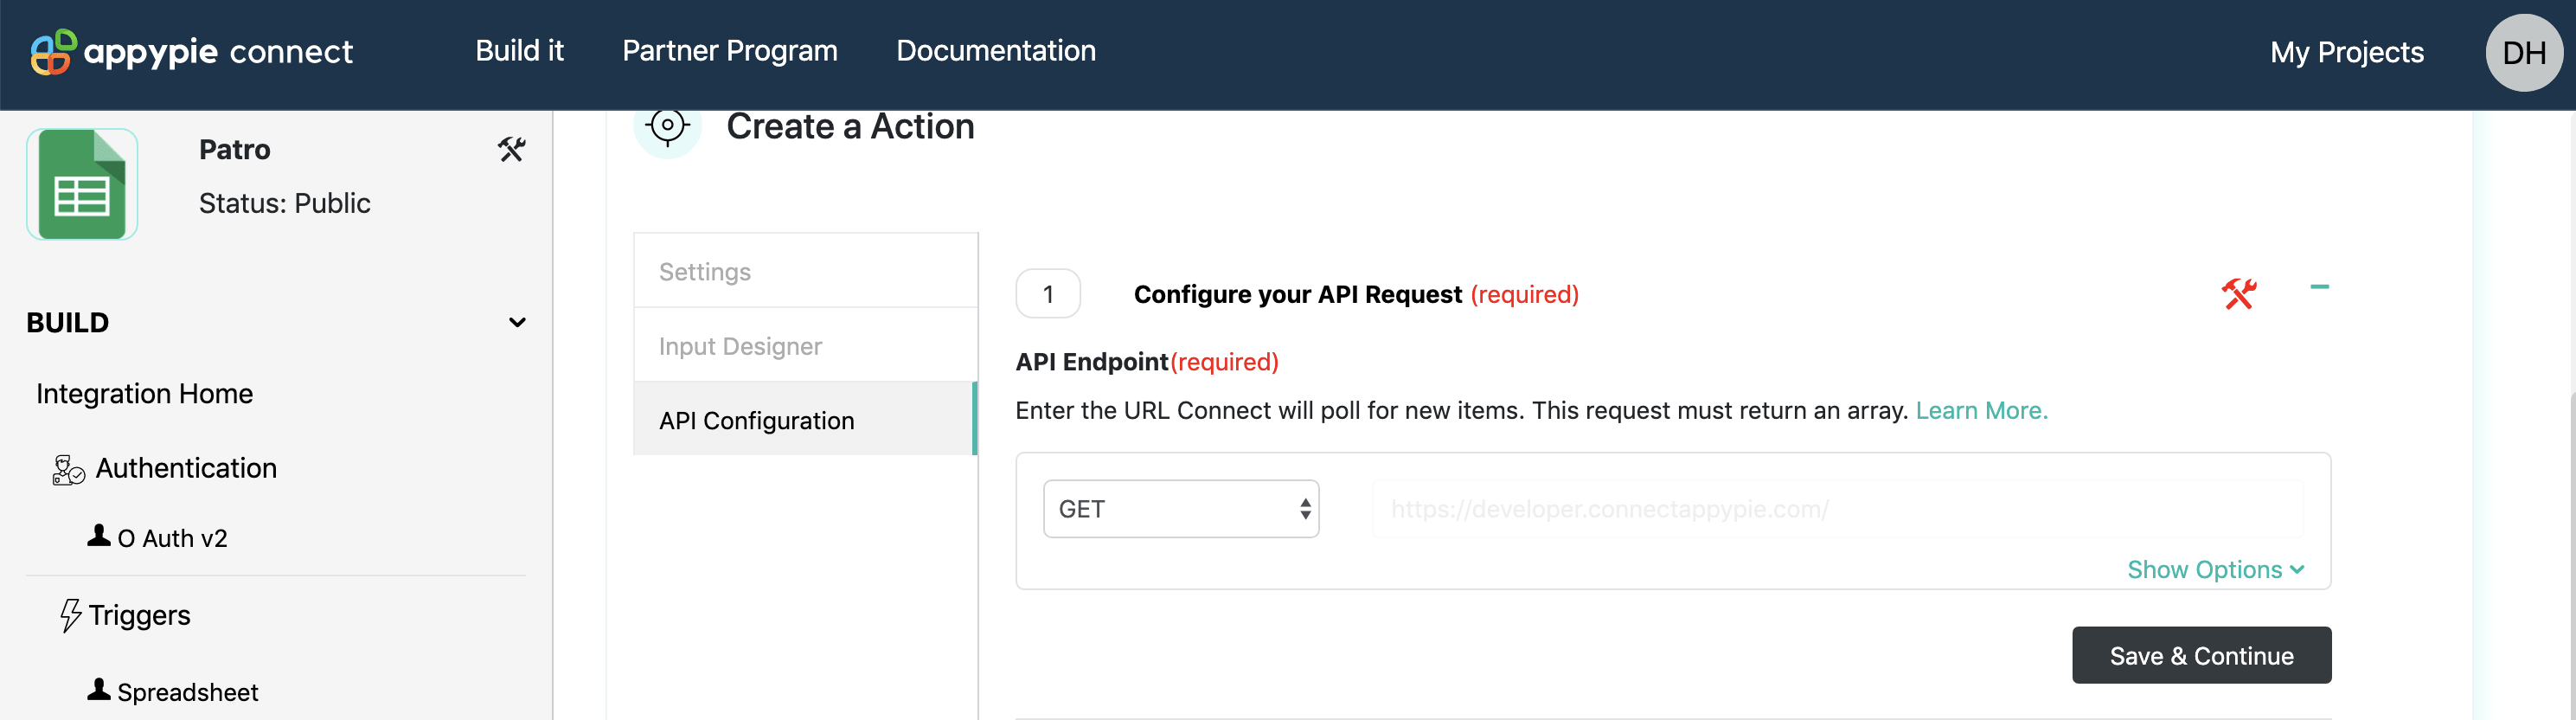
Appy Pie Automate will ask you to insert an API URL to send the request to the app. This API call will help in inserting or updating the information on the basis of the input fields selected by the user. You can further customize the API request URL by visiting the Show Options tab which will help you to make the changes as per the app requirement for additional information to perform an Action.
Once the changes are complete you can click the Save & Continue button to move further with testing the API response.
Test Your API Response

Once the API request URL is set, next you can check for the validation of the URL by connecting it with an account in your app. This will make sure that the API is working and response is successfully being received by Appy Pie Automate.
To Test, firstly add the proper credentials of an account which is linked with your app. Then fill the Input-Form, to set the action through API request URL. As soon as the test is completed, the success message will be shown if everything is in order, else, the error message will be shown on the screen just below the Test field.
Define Your Output

It is important to define output fields for end-users to understand which data needs to be accessed from your app on Appy Pie Automate. On the basis of the API’s, a table with all the output fields will be available. Give a user-friendly name to the fields and select “Save Output & Finish”
Reordering Action in Appy Pie Automate
Users of Connect while using your app, will see the Actions in the same order as they were added.
At Appy Pie Automate the Actions are displayed in the same order as they are added. They cannot be rearranged as of now. If you want to reorder them then, the simple way would be to delete and add the Actions in the desired order.
Deleting Action From Appy Pie Automate
If in case you want to remove any Action from your app, or you want to delete it to reorder then Appy Pie Automate’s Action deletion option can be used.
There can be different cases to delete or remove the Action such as:
- Your app no longer supports the Action
- You need to rebuild the action
- You want to change the order of your action
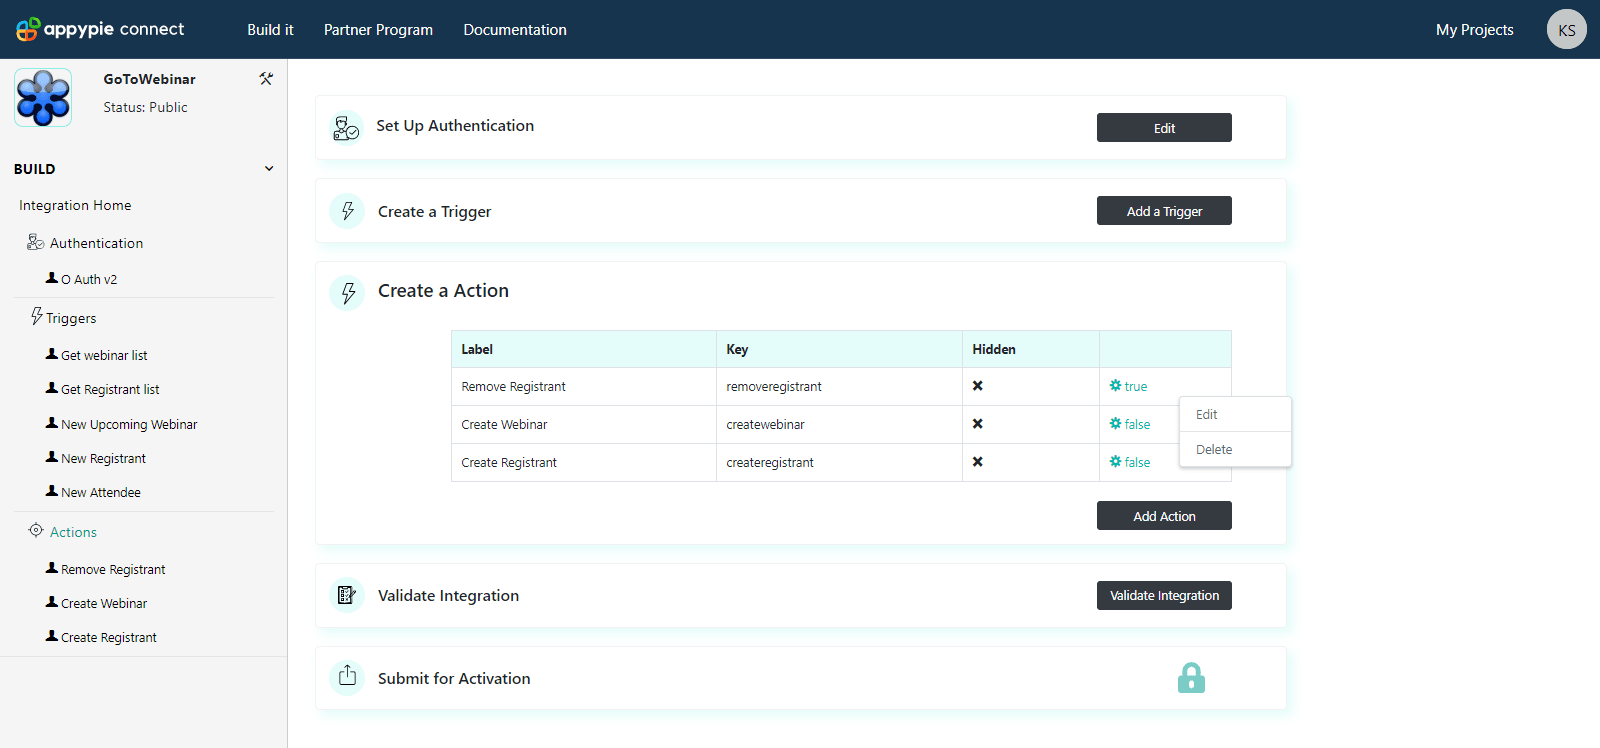
To remove an action from your integration, you need to click on the action menu. All the actions
will be visible in the series. Click on the settings
con. Choose to delete the action.
Important: Be careful while removing any action as there is no option to revert back this change at Appy Pie Automate. Once the action is removed you can only add it again but cannot restore the same. Also, follow this process before making your app live for public usage.