OAuth V2

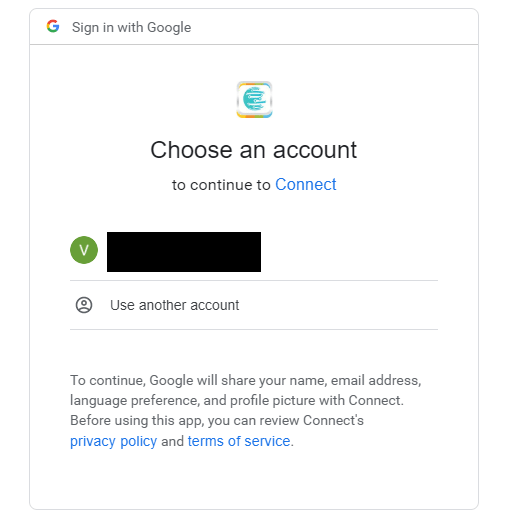
In OAuth V2 authentication users can sign in to the app account which will be available in the pop-up window once the app is selected. An access request token is sent to the app before the user authenticates, which, Appy Pie Automate gives access through after it gets authenticated.
OAuth V2 is the modern authentication form thus we support this authentication system for building the integration.
Authentication - OAuth V2
OAuth V2 is a modern way to authenticate the users of any app with a simple login process. It helps users to connect to their accounts on different platforms and access the required data to perform operations. With Appy Pie Automate users of the app connect to their account and communicate directly with the app without the concern of finding any API keys or any other form of linkage process as OAuth V2 is already enabled.
At Appy Pie Automate, when the user tries to make a connection between two apps, he/she will be redirected to log in the app first. This login window will pop-up in OAuth V2 authorization mode. This means that a new window will show to authenticate user identity with the credentials or else will ask the user to allow the app (if the user has already logged in browser). Once this is done, the user can use the same account to create multiple Connects of that app. Users will require to change the access only in the case of adding another account or if the access to the account is revoked due to any issue with the app.
How to add OAuth V2 in Appy Pie Automate?

As of now, Appy Pie Automate supports only OAuth V2 authentication. Thus, when you build a new integration, after completing the primary details you will be redirected to add authentication.
- Go to “Integration Home” and Proceed with “Set Up Authentication”
- Select the “OAuth V2” method “Save“ and proceed.
- You will be redirected to copy the OAuth redirect URL, this is the redirect URL to Appy Pie Automate which you will be required to put in your API to give proper access.
- Once the URL is added, you will be required to deliver the Client ID and Client Secret of your app. This will be used to test the authentication of your app to Appy Pie Automate. API calls will be made using the same client ID and secret. After adding details “Save & Continue”
- You will be asked to configure OAuth V2 endpoint. You will enter the API endpoints to authorize users of your app in accessing their accounts.
- Next would be, to add the scope and restrict the access of the API to the important and genuinely used functionalities. Options such as settings or account profile set up can be restricted for users to handle from Appy Pie Automate.
- An Access token URL would require after the Scope is added. Through this URL the token to access the app will be generated.
- Also, it is optional to add a refresh access token, it will help in refreshing the access to the user account automatically in case of sudden token expiration.
- Now, you can test the authentication for any error or flow glitches. Once the test is successful you can complete the authentication by selecting the “Save Finish” option.
Save the information filled and you are all set to make an integration. Now, add API authentication details and complete the integration in Appy Pie Automate.
Adding an OAuth Input Form
NOTE: When it comes to the most common apps, OAuth V2 need not have an input form for authentication. Thus, unless your API depends upon the data from the users before authentication access is requested through Authorization URL you do not require the input form.
With Appy Pie Automate it is easy to build an input form, it can help you in cases such as having additional details from users before authorization URL is called, to store fields received from your server for your API calls by Appy Pie Automate. For such special requirements, an input form can be the first step of authorizing an app.
While setting up OAuth authentication scheme, Step 1 by default is to create “Configure Your fields”. This is similar to the other form fields where the input form is required as in case of Triggers and Actions at Appy Pie Automate.
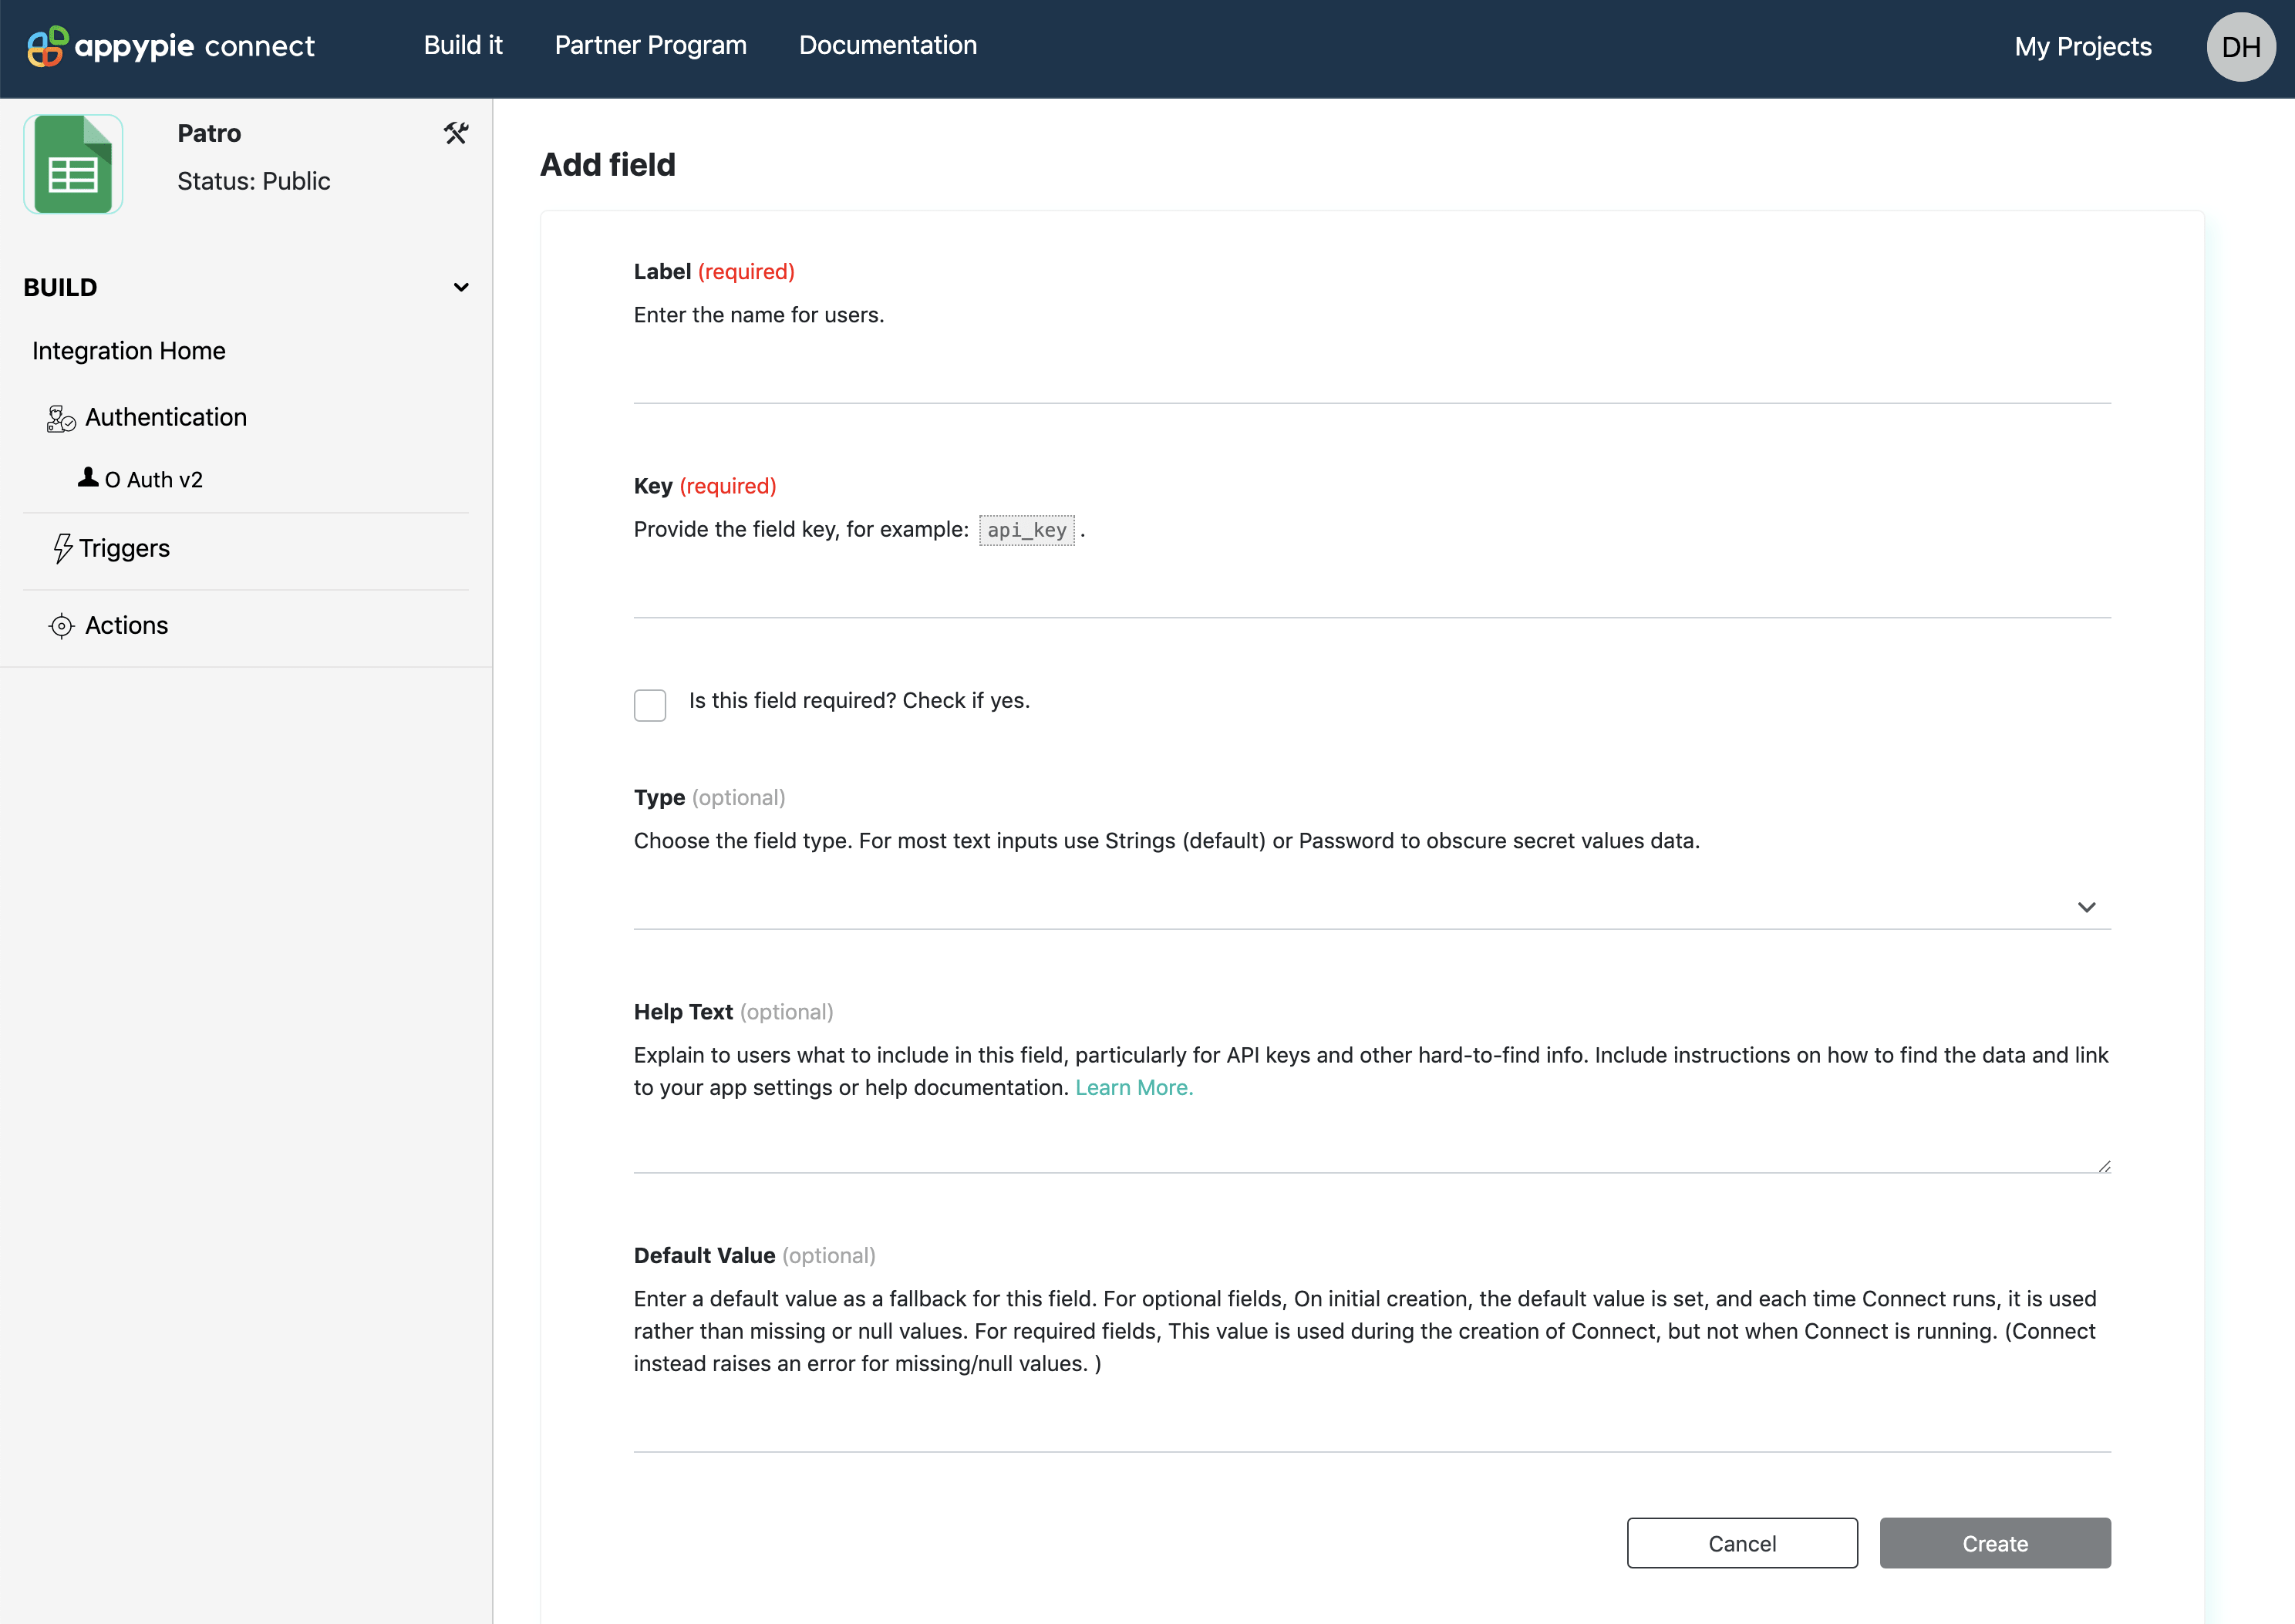
Under authentication, visit “OAuth V2” which will have different steps of authentication. To add Input Field Form go to Step 1 and click “Add Field” to fill the details. The different Field types to be added are:
- Label: A user-friendly name so that user may recognise it
- Key: Field key, will be the same as what your API expects.
- type: Choose between String, Password or Select according to the type of response expected
- Help text: It will help the user to understand the form and the field, usually, you can enter the information which may be complicated for your general app user. For example the team name, subdomain or location to find any particular link or information. Try to keep it as expressive as possible. You can also write the markdown to highlight specific optional areas or else include the link of destination or where the user could find relevant information in a broad sense.
- Default Value: This text will be filled if the user does not enter the value of the optional fields. This will be used for authentication in any steps of Appy Pie Automate but will be irrelevant in further steps.

Try to maintain order in which your app user will expect to fill. Once the fields are added they cannot be rearranged thus try to maintain a hierarchy, you can delete and add the field again if any field is out of the flow. Once fields are properly added, click on “Continue”.
Adding Redirect URL of Appy Pie Automate in Your App

In OAuth V2 integration, Step 2 will show the redirect URL from Appy Pie Automate. This URL will be used to send the request to your API. You can copy this URL and use it in your app’s admin panel or console and allow access.
To know the redirect URL for your reference you can always check the Appy Pie Automate Integration. You can use the code given below:
{{bundle.inputData.redirect_uri}}
Enter Your Application Credentials To Appy Pie Automate

You will find your application credentials in its settings, use those to verify your app at Appy Pie Automate. These details are entered as a Client ID and Client Secret. These details must be available in your app & should be entered in Step 3 of Appy Pie Automate’s OAuth V2 Configuration in respective fields. Appy Pie Automate will be using these details along with the authorization URL to receive request token.
Click “Save & Continue” to progress further with OAuth V2 configuration.
Client ID and Secret once entered and saved will automatically get included in the authentication of API calls at Appy Pie Automate, for your reference, you can check the Appy Pie Automate’s API calls by using the following code:
- Client ID:
{{process.env.CLIENT_ID}}
- Client Secret:
{{process.env.CLIENT_SECRET}}
Add OAuth V2 Endpoint Configuration

Next is to configure how Appy Pie Automate will relate users to your API and grant access to their accounts in your app. It is the process to receive credentials and use them all API calls to be made while creating different Triggers & Actions.
In Step 4, firstly add your Authorization URL that will help Appy Pie Automate to redirect your users and authenticate with the app. This URL can be fetched from your application or from the integration settings, from the app's API page or where earlier the client ID and client secret were available in your app. Standardly, just enter the URL and let other settings be in default mode.
Next is scope, if you want to restrict the Appy Pie Automate’s access to the specific data then you can add the scope for your app. More than one scope can be added with commas or spaces in the list.
After adding the scope and authorization URL, next will be, to add the Access Token Request and Refresh Token Request URLs. The endpoint configuration will check the access token URL with POST call as a default setting for Appy Pie Automate. These URLs will be available in your apps API.
Appy Pie Automate will pass the Client ID & secret along with Authorization code and redirect URL with a standard authorization_code grant type in the request body of the API. If you want to modify any details then the “Show Options” tab can be used to manipulate the information according to your apps API requirement.
To keep the user logged into your app the access token is required, to support the continuous login the refresh token is really important. Thus, if your app does the same then you can enter the refresh token details and your user’s access will be refreshed itself, thus, preventing the access token expiration. Users will be able to access the app and the Connects continuously without any issue due to token expiry.
The same access token will be included in the further steps made for API requests. To manually add the access token you can check authData bundle and can refer to
{{bundle.authData.access_token}}
Or {{bundle.authData.accesstoken}} , which depends upon API’s response with the reference to the access token.
What’s Next? Test off course, Enter an API endpoint URL to test authentication credentials, ideally one needing no configuration such as /me.
Now, you have to enter the URL endpoint to the Test field, it must not have a configuration requirement and would return the user authentication details ideally /me. With API call access token will be passed by Appy Pie Automate and with all the other API calls following the same by default. If in any case any additional configuration is required by your API then simply click on Show Options and add the needfuls for making a successful API call. Save & Continue to move forward with OAuth V2 integration.
Finally, Test Your Authentication to check if the flow is working perfectly. You can check for the errors and reconfigure if required. On the lighter note, be sure to use real credentials to check the perfect working.


